

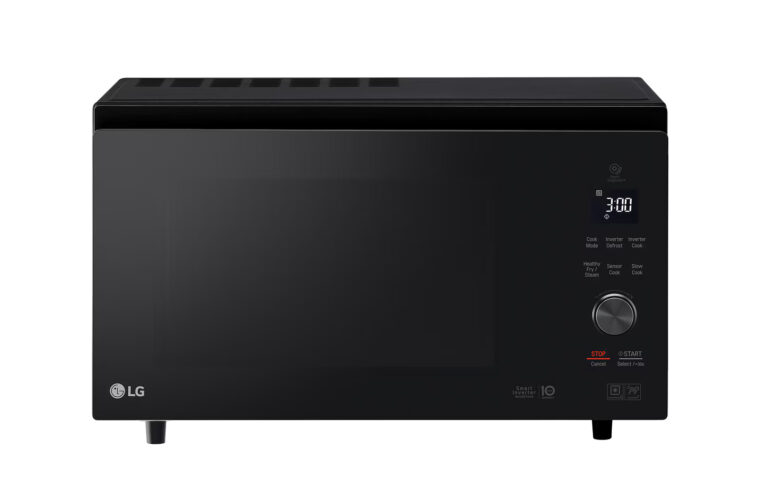
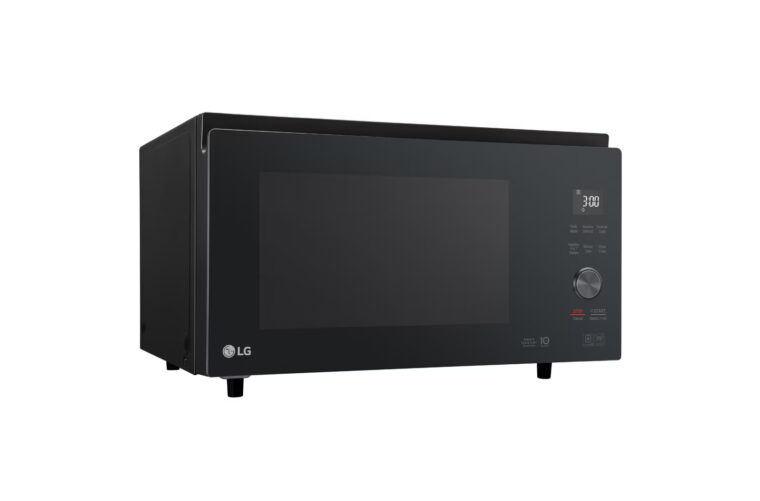
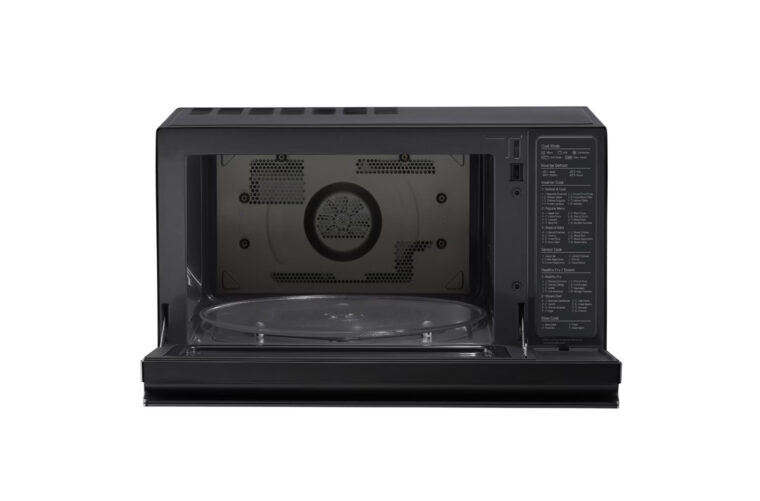
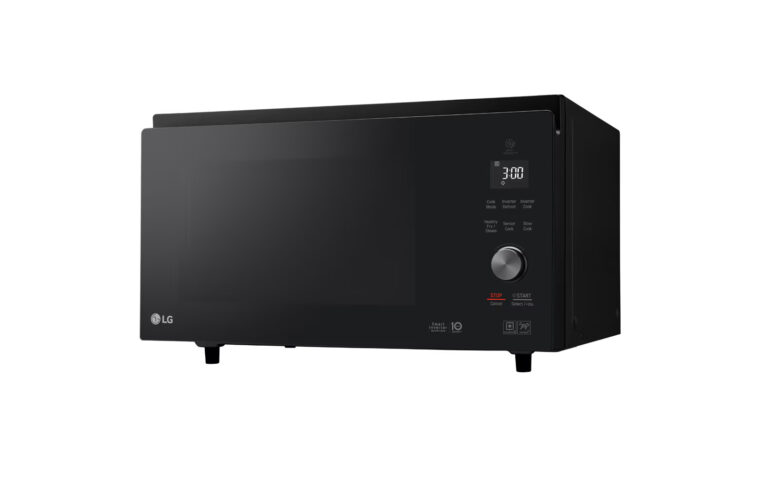
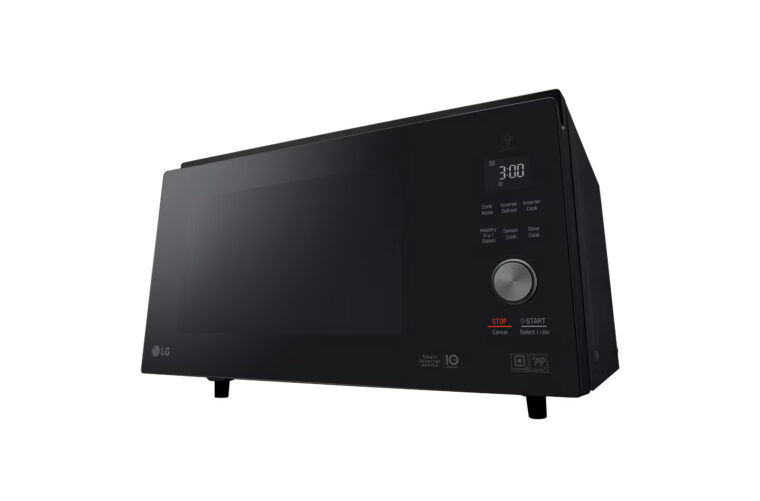
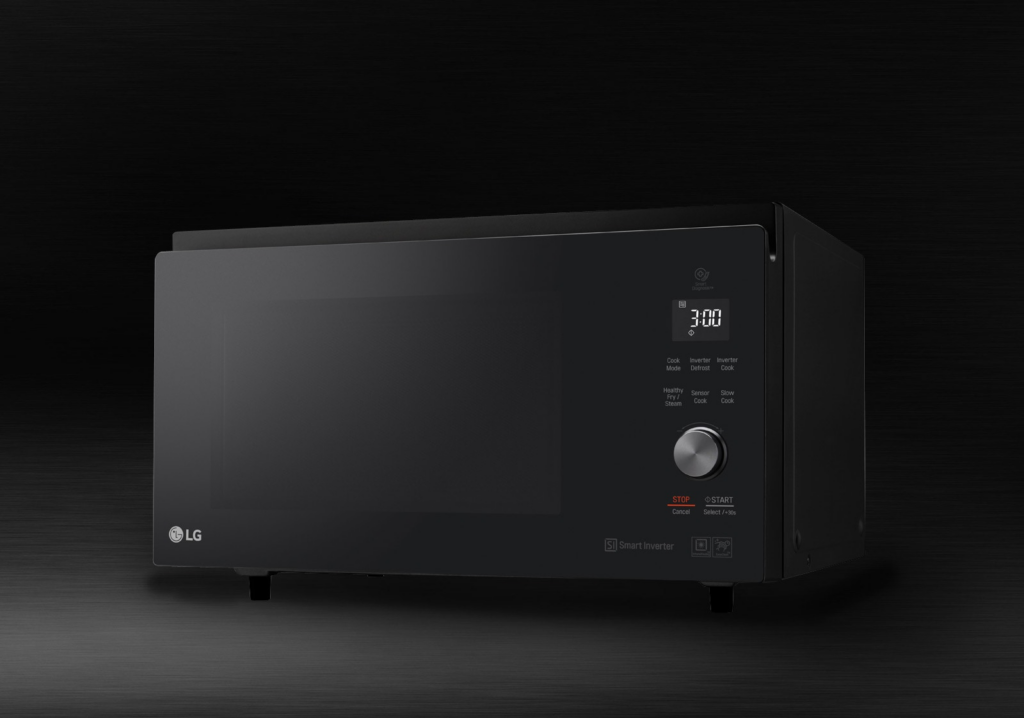
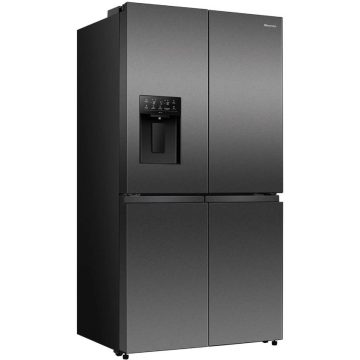
Sleek Minimalist Design
A single piece of tempered glass on the front door creates a modern, stylish appearance.
Method
Step 1
Reserve 2 teaspoons taco seasoning for potatoes. Crumble mince into a 2.5 L (10 cup) microwave-safe dish. Add onion, capsicum and garlic and stir to combine. Cover, microwave, on 100, stirring halfway through, for 4 minutes.
Step 2
Add the beans, tomato paste, chilli powder and 60ml (1/4 cup) water to the mince mixture. Cover, microwave, for a further 3 minutes or until hot. Set aside.
Step 3
Cut each potato into 8 wedges and place in a large bowl. Add the oil and reserved taco seasoning and toss until well coated. Place half the wedges on the ‘crisp tray' on the high rack. Use the HEALTHY FRY MENU instructions. Choose the weight of the potatoes, in this case 4kg, and press start. When the microwave beeps, carefully turn over and continue cooking (each batch takes about 25 minutes). Transfer to a 24cm microwave-safe plate and cover to keep warm. Repeat with remaining wedges.
Step 4
Arrange the potatoes on the outer rim of the plate. Reheat mince on high for 4 minutes or until hot. Spoon the mince into the center of the potatoes. Sprinkle with the cheese.
Step 5
Using the GRILL COOKING INSTRUCTIONS, grill nachos for 4-5 minutes or until cheese has melted.
Step 6
Meanwhile, mix avocado and tomato in a small bowl. Add lemon juice and season well.
Step 7
Top nachos with avocado mixture and coriander. Serve.
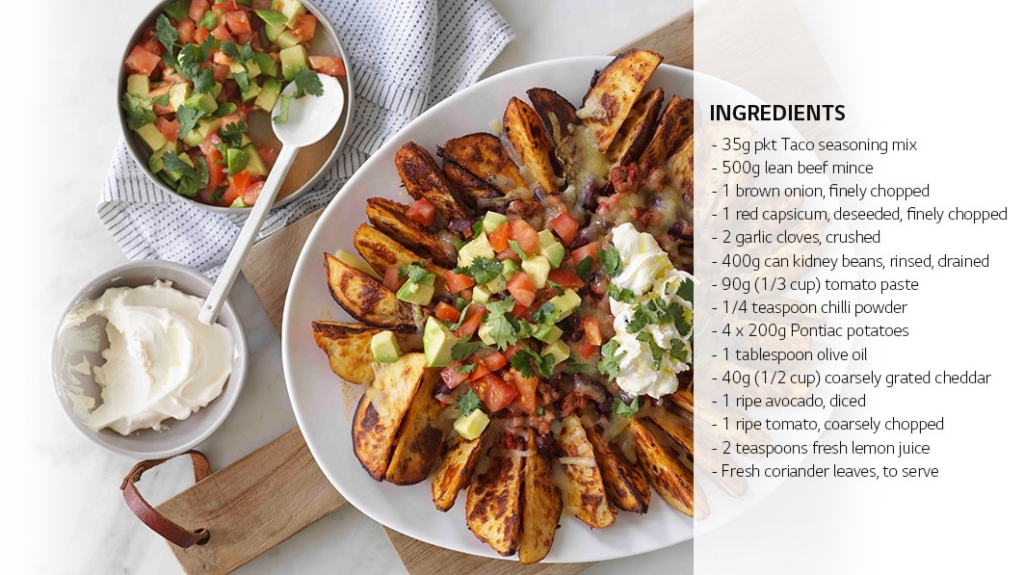
Potato Wedge Nachos
Load up humble potato wedges with Mexican flavoured mince and your favourite toppings.
Healthy Fry
The Healthy Fry feature is designed to reduce the amount of fat that remains in food after frying. For example, by using an air fry method of cooking, rather than deep frying the NeoChef™ oven can reduce the amount of residual fat in potato wedges by up to 72 percent.*
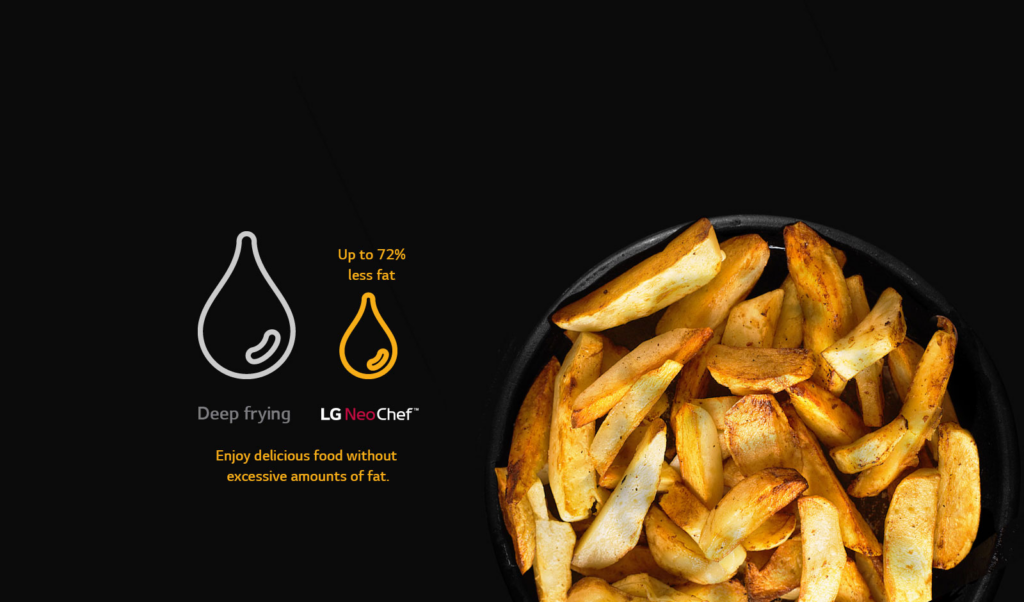
*As shown in testing using crispy tray, potato wedges, canola oil and compared to a deep fryer.
Method
Step 1
Place sesame seeds on a microwave-safe plate. Microwave on 100, stirring often, in 30 seconds bursts for 1-2 minutes or until lightly browned. Set aside.
Step 2
Place rice in a large, deep 3 litre (12-cup) microwave-safe bowl. Add boiling water and season with salt. Cover with plastic wrap and pierce a few holes in the plastic to allow steam to escape. Place dish in the microwave. Use the SENSOR COOK MENU instructions (see notes). Choose the weight of the rice, in this case 0.2kg, and press start. Once cooked, fluff rice with a fork and stand, covered, to keep warm.
Step 3
Combine sugar, hoisin sauce, garlic, ginger, honey and soy in small microwave-safe bowl. Microwave on 100 for 1 minute or until sugar has dissolved. Place half the pork on baking paper-lined crisp tray. Microwave on 100 for 9 minutes. Place on high rack in microwave. Brush the pork with the 1/2 the hoisin glaze and use the GRILL COOK MENU instructions to grill for 7 minutes. Turn and brush lightly with some of the glaze. Grill for 7 minutes. Toss and brush with glaze again. Grill for a further 7 minutes or until just tender. Transfer pork to a bowl. Repeat with remaining pork and hoisin glaze.
Step 4
Place oil, bacon and onion in a 2.5 litre (10 cup) microwave-safe dish. Cover and microwave on 100, stirring halfway, for 5 minutes or until aromatic.
Step 5
Add peas, shallots, rice and 3 tablespoons of pork juices. Stir well to combine. Cover and microwave on 100 power for about 2-3 minutes or until rice is heated through. Serve rice topped with sliced pork, sesame seeds and drizzle with some of the pork juices. Top with extra shallots to serve.
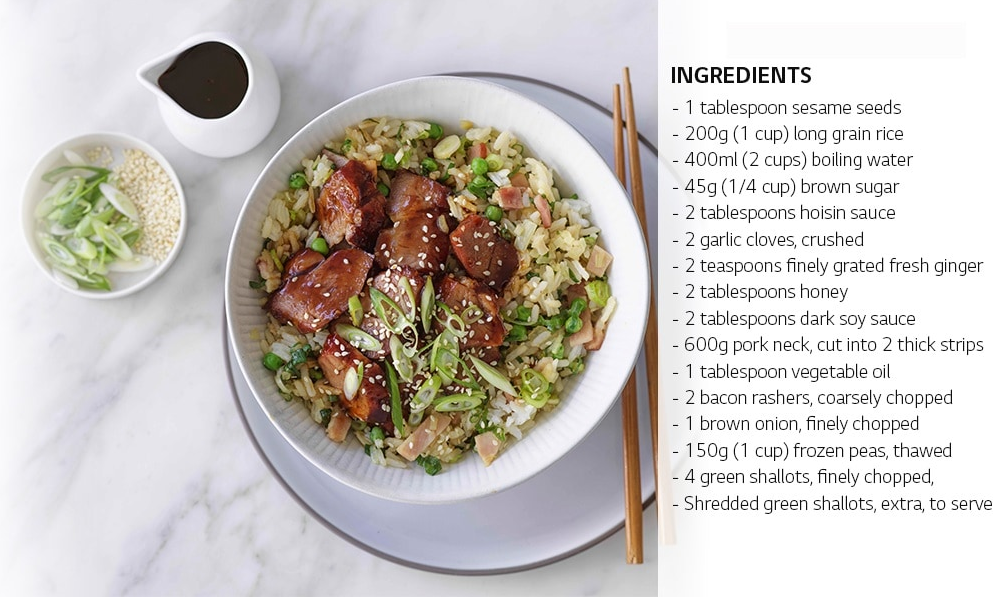
Asian Pork “Fried” Rice
No need to wash any pots and pans with this easy microwave Asian rice recipe.
Anti-Bacterial Coating
The Anti-Bacterial EasyClean™ interior coating makes cleaning simple and convenient. Just a few wipes are all it takes to clean the microwave interior. The coating eliminates 99.99 percent of harmful bacteria from the surface.1,2
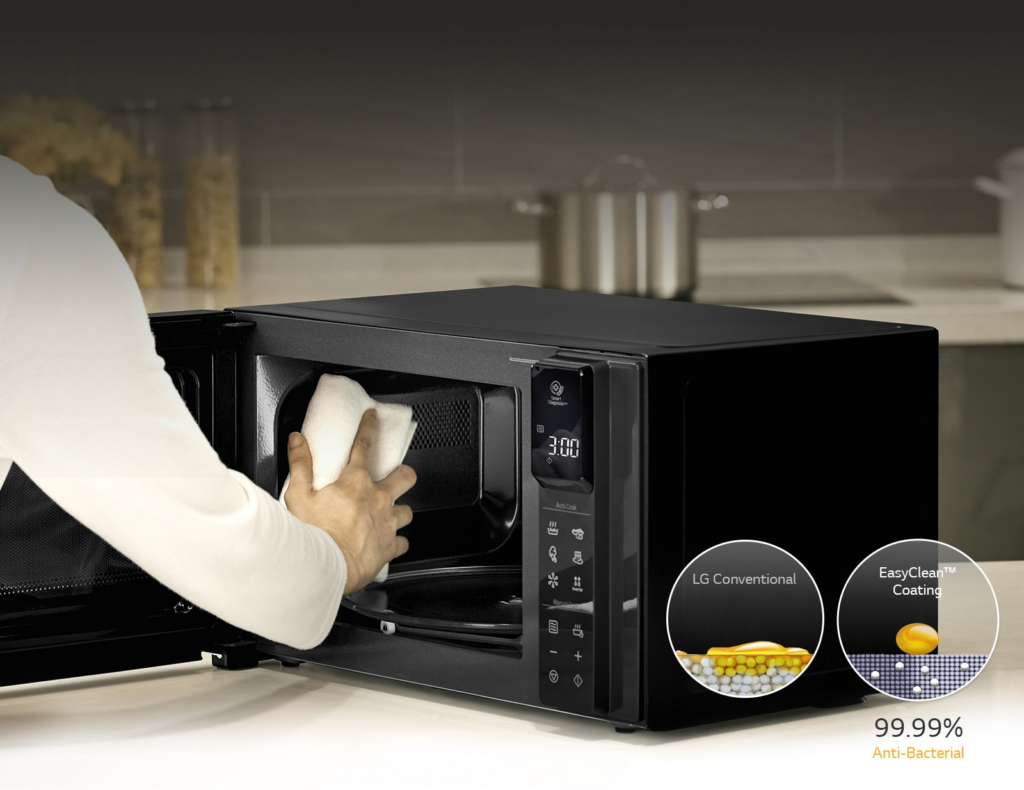
1 Tested by SGS.
2 Product image for graphical representation purposes only. Actual model appearance may vary from that shown.
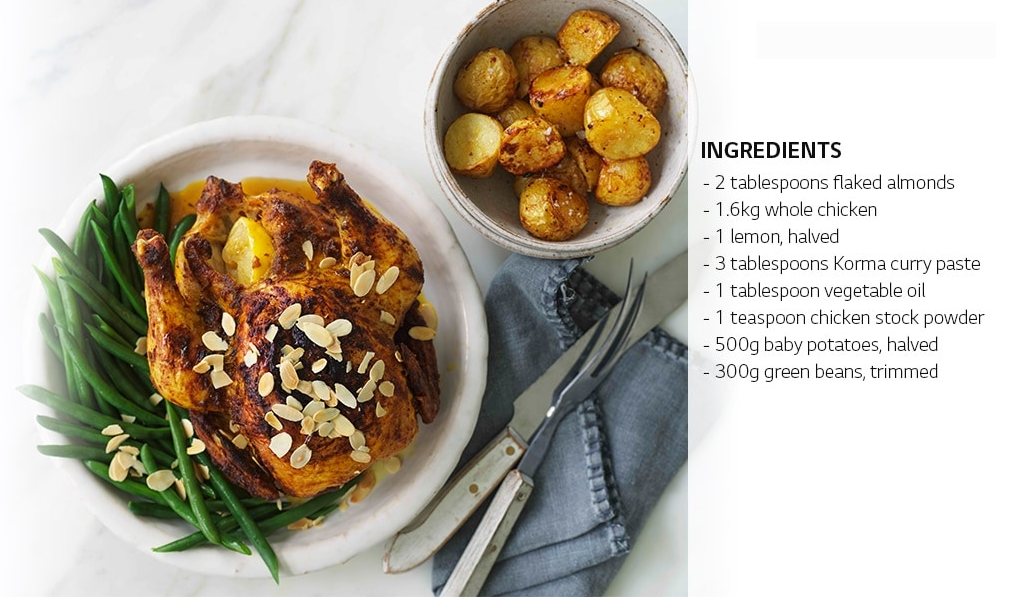
Method
Step 1
Spread almonds onto a microwave-safe plate. Microwave on 100, stirring often, in 30 seconds bursts, for 2 minutes or until lightly browned. Set aside.
Step 2
Fill the cavity of the chicken with the lemon. Tie legs together with kitchen string. Combine curry paste, oil and stock powder in a small bowl. Rub half the mixture all over the chicken. Place breast side down in a large microwave-safe dish.
Step 3
Place the chicken on the low rack in microwave and use ROAST AND BAKE MENU instructions (see notes). Choose the weight of the chicken plus 200g (this allows extra time for the potatoes), in this case 1.8kg, and press start. When the microwave beeps, carefully turn chicken over. Spoon 2 tablespoons of the cooking liquid into a large bowl. Add the potatoes and toss to combine. Place the potatoes around the chicken in a single layer and rub remaining curry mixture over chicken. Continue cooking for the remaining programmed time until the chicken is cooked through and potatoes are tender. Set aside and cover loosely with foil to keep warm and rest.
Step 4
Using STEAM CHEF MENU instructions, pour 300ml water into the steam water bowl. Place the steam plate on the steam water bowl. Place the beans on the steam plate. Cover with the steam cover. Place in the microwave and choose menu and weight, in this case 300g, then press start.
Step 5
Serve roast chicken and potatoes with steamed green beans, drizzled with juices and sprinkled with the almonds.
Roast Indian Korma Curry Chicken
Add an extra layer of flavour to your roast chicken by rubbing it with a delicious curry paste and serving with a sprinkle of flaked almonds.
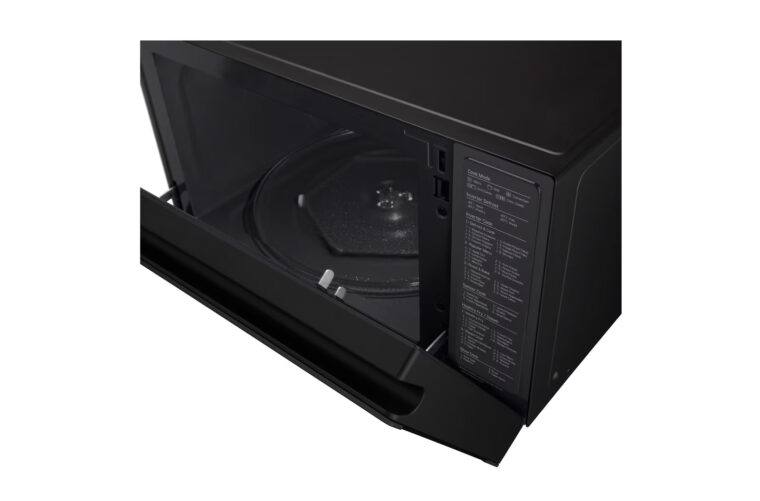
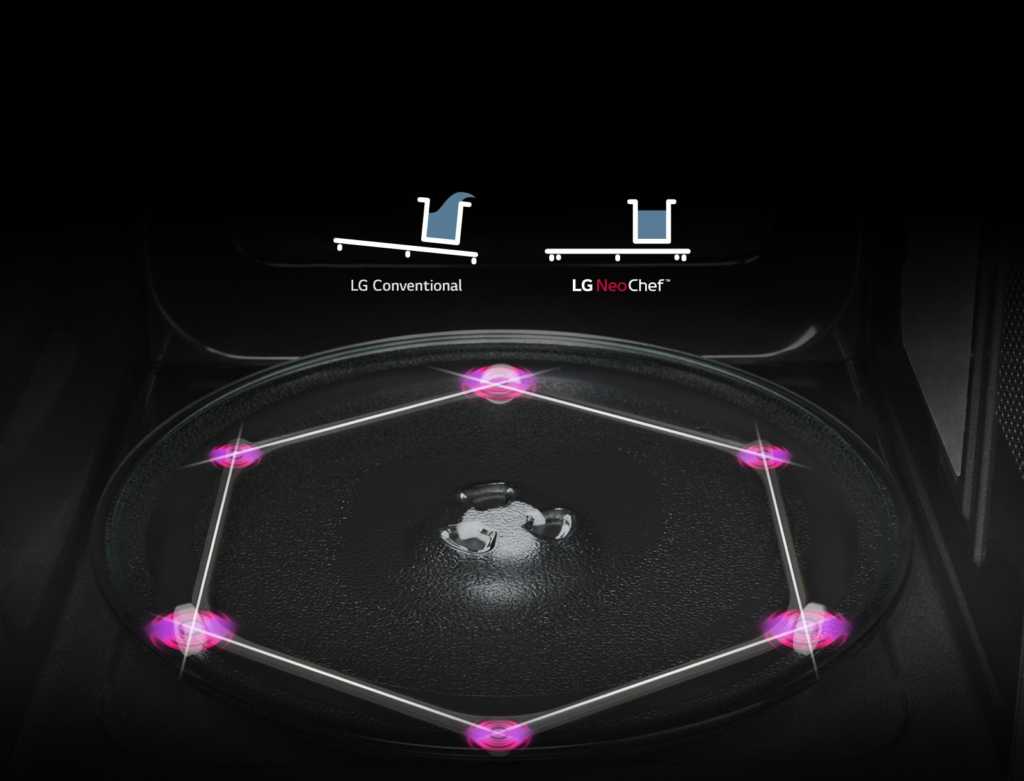
Stable Turntable
The hexagonal ring stabilises the turntable with six support points, which helps prevent off-centre items from tipping and spilling during cooking.
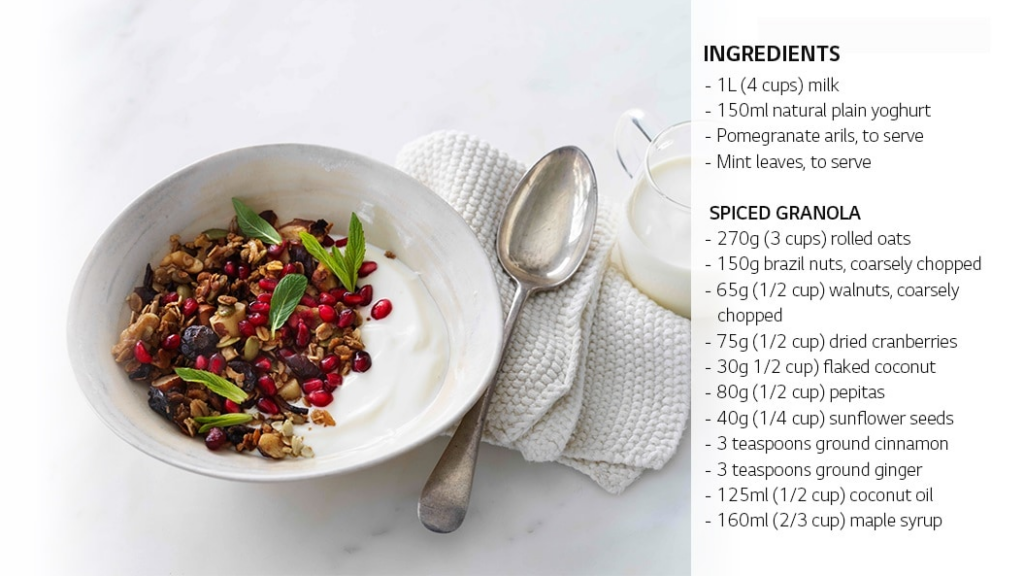
Method
Step 1
Pour milk into a 3 litre (12 cup) microwave-safe bowl. Microwave on 100 for about 5-6 minutes until temperature reaches 60°C. Set aside covered, for 20 minutes or until temperature has cooled down to 40°C on a cooks thermometer. Whisk the yoghurt into the milk, cover with plastic wrap. Follow SENSOR COOK MENU instructions for yoghurt and set cooking time for 5 hours. When set, remove from oven. Place in the fridge overnight.
Step 2
Meanwhile, make the granola. Preheat LG NEO Convection Oven to 180°C. Combine all ingredients in a large bowl. Stir until well combined. Spread half the mixture over the ‘crisp tray'. Place on low rack in the microwave. Microwave, stirring halfway through, for 15 minutes or until golden and aromatic. Spoon onto a baking tray to cool. Repeat with remaining granola mixture. Set aside to cool and harden. Once cooled, store in an airtight container until serving.
Middle Eastern-Spiced Granola Bowl
Ditch the store-bought packs and try making your own Middle Eastern flavoured granola and yoghurt. You won't look back.
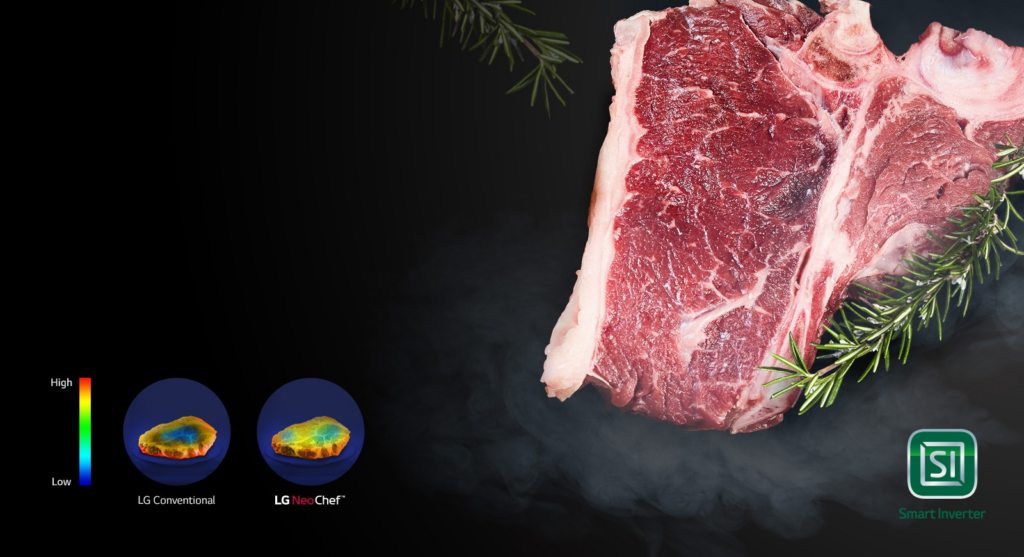
Even Defrosting
The Inverter technology in the LG NeoChef™ enables more precise temperature control to help defrost foods and avoid overcooked and unthawed areas.
Method
Step 1
Lay 1 Lebanese bread on the ‘crisp tray' on the high rack. Use the GRILL COOKING FEATURE (see notes) to toast the lebanese bread for 8 minutes or until golden and crispy. Set aside. Repeat with remaining Lebanese bread.
Step 2
Place the oil, onion, capsicum, garlic and thick broccolini stems in a 2 litre (8 cup) microwave-safe dish. Cover and microwave on 100, stirring halfway, for 4-5 minutes or until vegetables are soft.
Step 3
Add cumin, coriander and chilli flakes to the vegetable mixture. Cover and microwave for a further 1 minute or until aromatic and onion has softened. Add tomato and remaining broccolini. Cover and microwave for 5 minutes or until heated through. Season well.
Step 4
Spoon hot tomato mixture into four 750ml (3 cup) shallow microwave-safe bowls. Make a shallow indent in center of the mixture. Crack 1 egg into tomato mixture of 1 bowl. Use a sharp knife to prick egg white several times and the yolk once (this prevents the egg bursting). Cover bowl loosely with paper towel (to avoid spills). Microwave on 100 for 2 1/2 - 3 minutes for soft yolks or until egg is cooked to your liking. Repeat with remaining tomato mixture and eggs.
Step 5
Sprinkled with coriander and chilli flakes. Crack crisp Lebanese breads to serve.
Brekkie Shakshuka Bowls
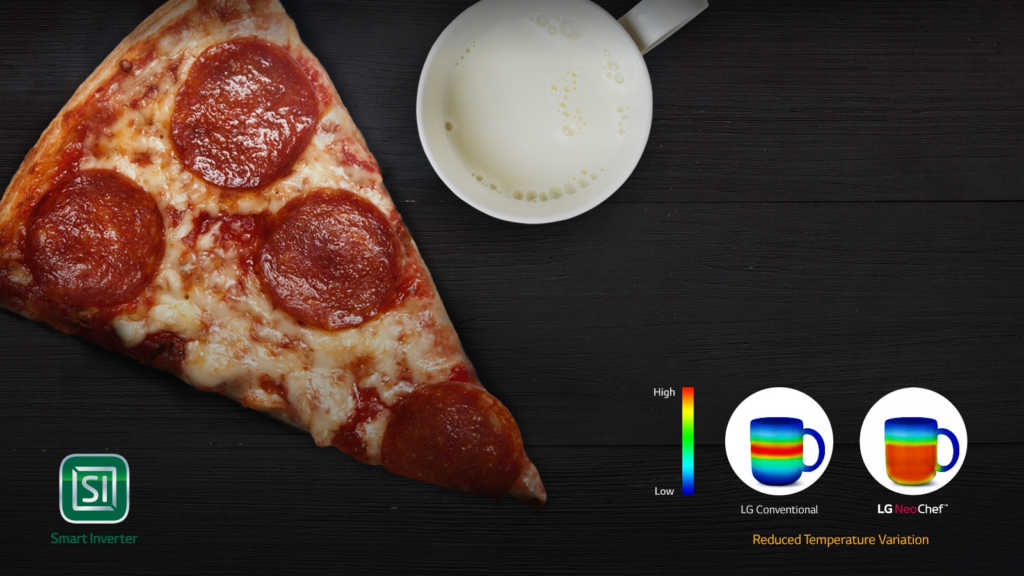
Even Heating
LG Inverter technology enables a more even distribution of heat throughout foods with more precise temperature control. Delivering a satisfying dining experience.
Method
Step 1
Place pasta in a large, deep 3L (12-cup) capacity microwave-safe bowl. Add boiling water and season with salt. Cover with plastic wrap and pierce a few holes in the plastic. Place dish in the microwave. Use the INVERTER COOK POPULAR MENU instructions (see notes). Choose the weight of the pasta,in this case 0.2kg, and press start (this will take about 25 minutes). Once cooked, drain off any excess water. Keep warm.
Step 2
Place oil, onion, bacon and garlic in a 2 litre (8-cup) microwave-safe dish. Cover and microwave on P-HI, stirring halfway, for 5 minutes or until softened. Stir in red wine and passata. Cover and microwave on P-HI for 4 minutes. Season well.
Step 3
Add the basil, spinach, passata mixture and baby bocconcini to the pasta. Microwave on P-HI for 4-5 minutes or until heated through.
Step 4
Sprinkle with cheese. Place dish on high rack in microwave. Use the GRILL COOK MENU instructions to grill pasta for 5-8 minutes or until cheese has melted. Serve.
Cheat's Italian pasta bake
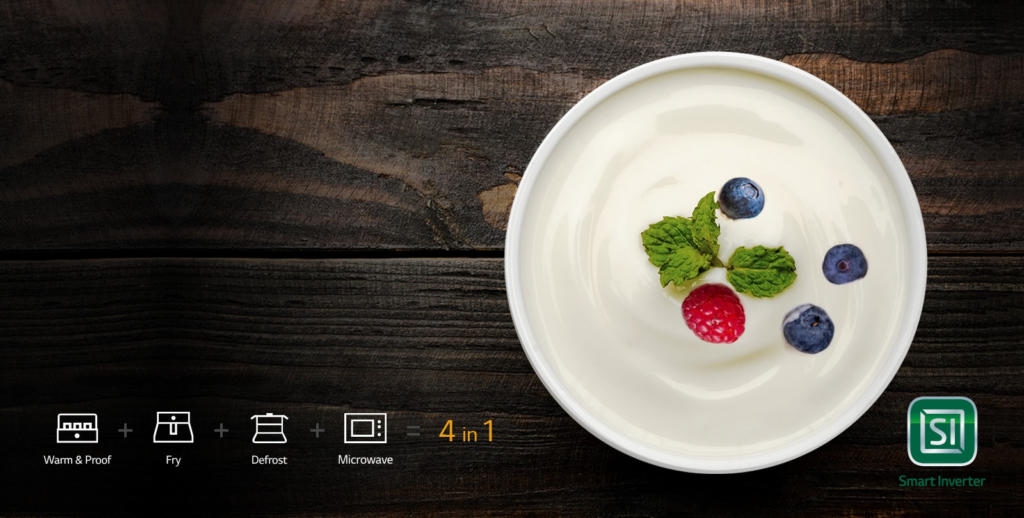
Versatile Cooking
With just one appliance you can warm, fry, defrost and cook. From delicately proofing yogurt to popping your corn, the LG Inverter microwave is a versatile cooking solution.
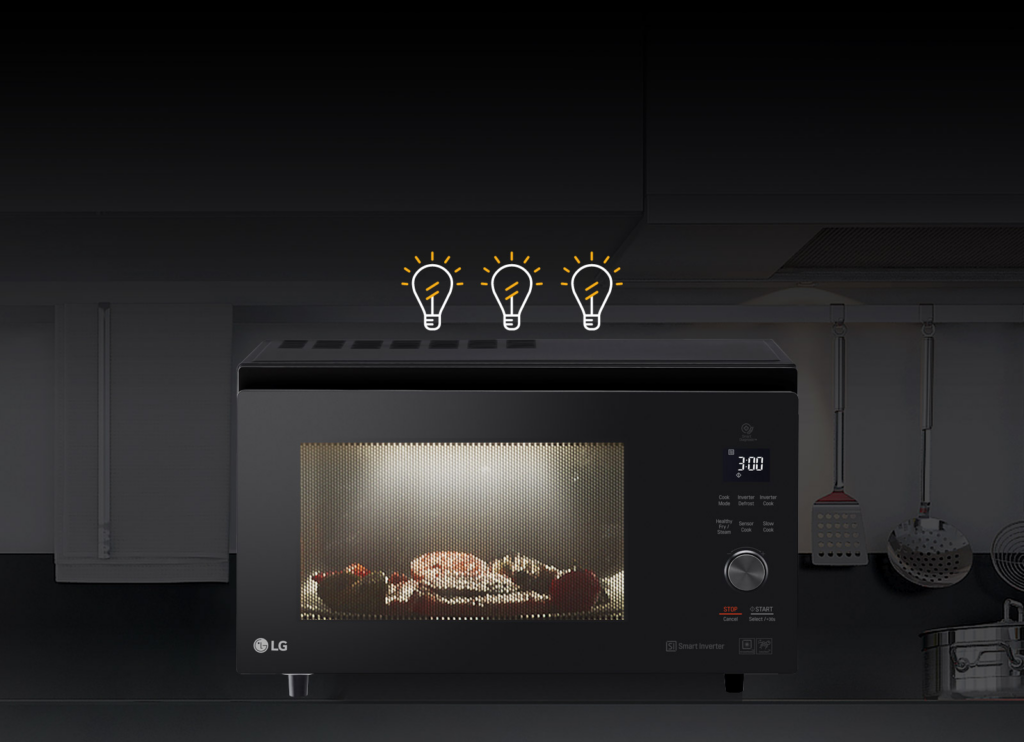
Bright Internal Lighting
The interior white LED lamp on the NeoChef™ oven is 3 times brighter and more energy efficient than the incandescent light on other LG microwave ovens.








Reviews
There are no reviews yet.